In this mini tutorial we are going to use Webscarab and Ratproxy together in a chained fashion.
Introduction
This will enable passive testing of a web application by Ratproxy, with more active intercepting proxy testing to be done by Webscarab. For this reason we will run Ratproxy as the first hop in the proxy chain with webscarab as the next. This ensures any manipulated HTTP requests coming from webscarab are not picked up by the ratproxy passive analysis.
Download the latest version of Webscarab
Download the latest version of Ratproxy
To run webscarab we must make the jar file executable.
chmod +x Downloads/webscarab-one-20120422-001828.jar
Then I simply went to Nautilus and browsed to Downloads, right click on the webscarab file and select open with OpenJDK 7.

To install ratproxy, untar it. Then type "make" in the directory. This will build the ratproxy executable.
The Ratproxy readme file contains good information about the tool and the massive amount of command line configuration options available.
Webscarab is running on 127.0.0.1:8008 and we will run ratrpoxy on the default port of 127.0.0.1:8080
Note the command line we are going to use includes active attacks. The domain we are using is testasp.vulnweb.com a common web application security testing site.
If you are running this ensure you have permission to scan the site / domain you include in the ratproxy command line. The XC option means ratproxy will perform active attacks. If this is immitted the security testing is more passive in nature and will not send attack packets to the target site.
./ratproxy -v vulnweb -w vulnweb.txt -d testasp.vulnweb.com -lfscm -XC -P 127.0.0.1:8008


Note the final parameters, this advised ratproxy to use an upstream proxy that is our webscarab proxy. The -v is the directory where the requests will be logged, the -w is the actual report which needs to be converted with the report script (see below).
Now we browse to the target site using 127.0.0.1:8080 as our browsers proxy.
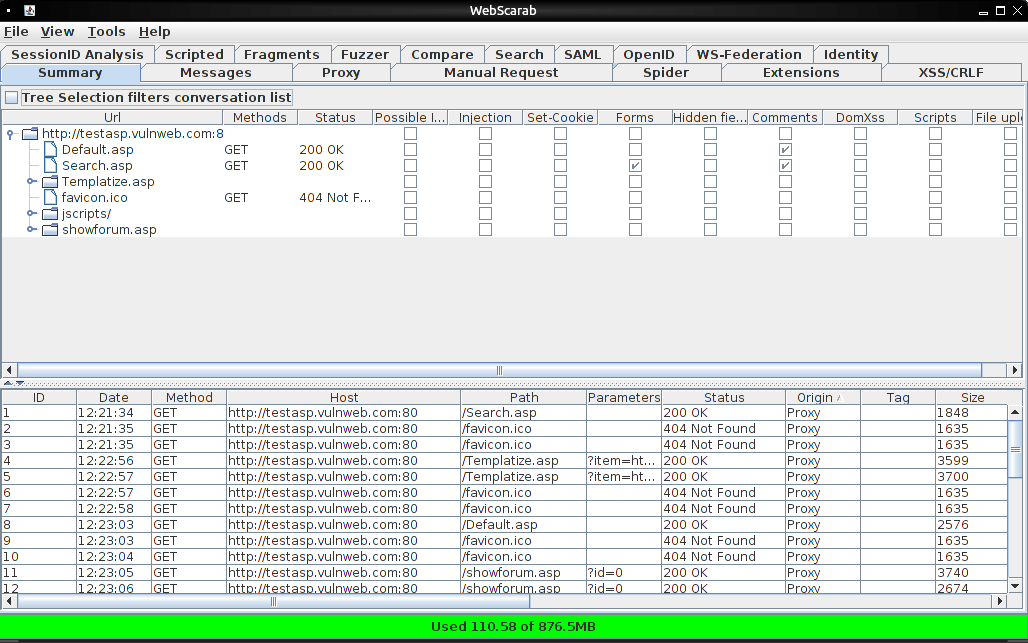
Browse around and you will see the webscarab console being filled with your web requests. To see the ratproxy report go to the terminal where it is running and hit control-c. This stops the proxy and flushes the results to the report.
./ratproxy-report.sh vulnweb.txt > report.html
This generates the html report, which can be viewed in your browser.
Intercepting proxies are not plug and play, there are hundreds of configuration options and techniques for testing web applications. So go forth and start testing (with permission).