To install OpenVAS 9 on Ubuntu 16.04 we will use the third party binary package method. While we could build from source, the packages allow us to get OpenVAS up and running quickly and with minimal fuss.
If you are installing OpenVAS into a Ubuntu virtual machine I suggest adding as much CPU as you can as this will speed up your scan times. A suggested minimum is 8GB of RAM and 4 cores.
An interesting feature mentioned in the latest release is the development towards building a distributed system for large scale deployments. Having a central console (and manager) that can delegate scans to multiple scanners is an excellent architecture for those wanting to scan large numbers of targets.
Install OpenVAS
First step is to add the PPA repository to our Ubuntu build. In this example, I am using a clean server build on VMware Workstation. After running the app-apt-repository command you receive a notice that gives a good summary of the installation process.
root@ubuntu:~# add-apt-repository ppa:mrazavi/openvas
Next apt update and install the main packages.
root@ubuntu:~# apt update
root@ubuntu:~# apt install sqlite3
root@ubuntu:~# apt install openvas9
There are a ton of packages to be installed, on my clean Ubuntu Server build a total of 175 packages and 581mb of disk space is to be used. A couple of additional packages are required for the PDF reports to work.
root@ubuntu:~# apt install texlive-latex-extra --no-install-recommends
Now some extra fonts to make those pdf's look pretty.
root@ubuntu:~# apt-get install texlive-fonts-recommended
The libopenvas9-dev package installs the openvas-nasl utility that allows you to run single OpenVAS nasl scripts, great for quick checks and troubleshooting. In the next step we are also adding the vulnerability data by syncing with the feeds.
root@ubuntu:~# apt install libopenvas9-dev
root@ubuntu:~# greenbone-nvt-sync
root@ubuntu:~# greenbone-scapdata-sync
root@ubuntu:~# greenbone-certdata-sync
Time to start the OpenVAS scanner process.
root@ubuntu:~# service openvas-scanner restart
Now a check of the running processes will show our scanner loading the NVT's.
root@ubuntu:~# ps -ef | grep openvas
root      34149      1  0 00:22 ?        00:00:00 gpg-agent --homedir /var/lib/openvas/openvasmd/gnupg --use-standard-socket --daemon
root      34241      1  0 00:22 ?        00:00:01 openvasmd
root      37861      1 55 02:01 ?        00:00:02 openvassd: Reloaded 8550 of 53269 NVTs (16% / ETA: 00:20)
root      37862  37861  0 02:01 ?        00:00:00 openvassd (Loading Handler)
root      37864  25921  0 02:01 pts/1    00:00:00 grep --color=auto openvas
Using netstat -an we can see that gsad is now running on port 4000. Another thing to notice is openvasmd and openvassd are running on sockets rather than listening on TCP ports.
An extra package is required if we want to test Microsoft SMB services for critical vulnerabilities such as MS17-010. This particular Microsoft Patch is of note as it fixes the vulnerability that has been keeping IT staff busy since the wannacry ransomware attack started spreading around the world. Of course, any penetration tester will be familiar with MS08-067, a previous favourite vulnerability for attacking Windows 2003 systems.
apt install smbclient
Now lets restart the openvas-manager and rebuild the cache. Rebuilding the cache ensures the feed that we synced is all loaded up into the manager and we are ready to start testing.
root@ubuntu:~# service openvas-manager restart
root@ubuntu:~# openvasmd --rebuild --progress
Rebuilding NVT cache... done.
If you have any issues, the log files contain the information for troubleshooting. OpenVAS logs can be found in the following location.
/var/log/openvas
/var/log/openvas/gsad.log
/var/log/openvas/openvasmd.log
/var/log/openvas/openvassd.dump
/var/log/openvas/openvassd.messages
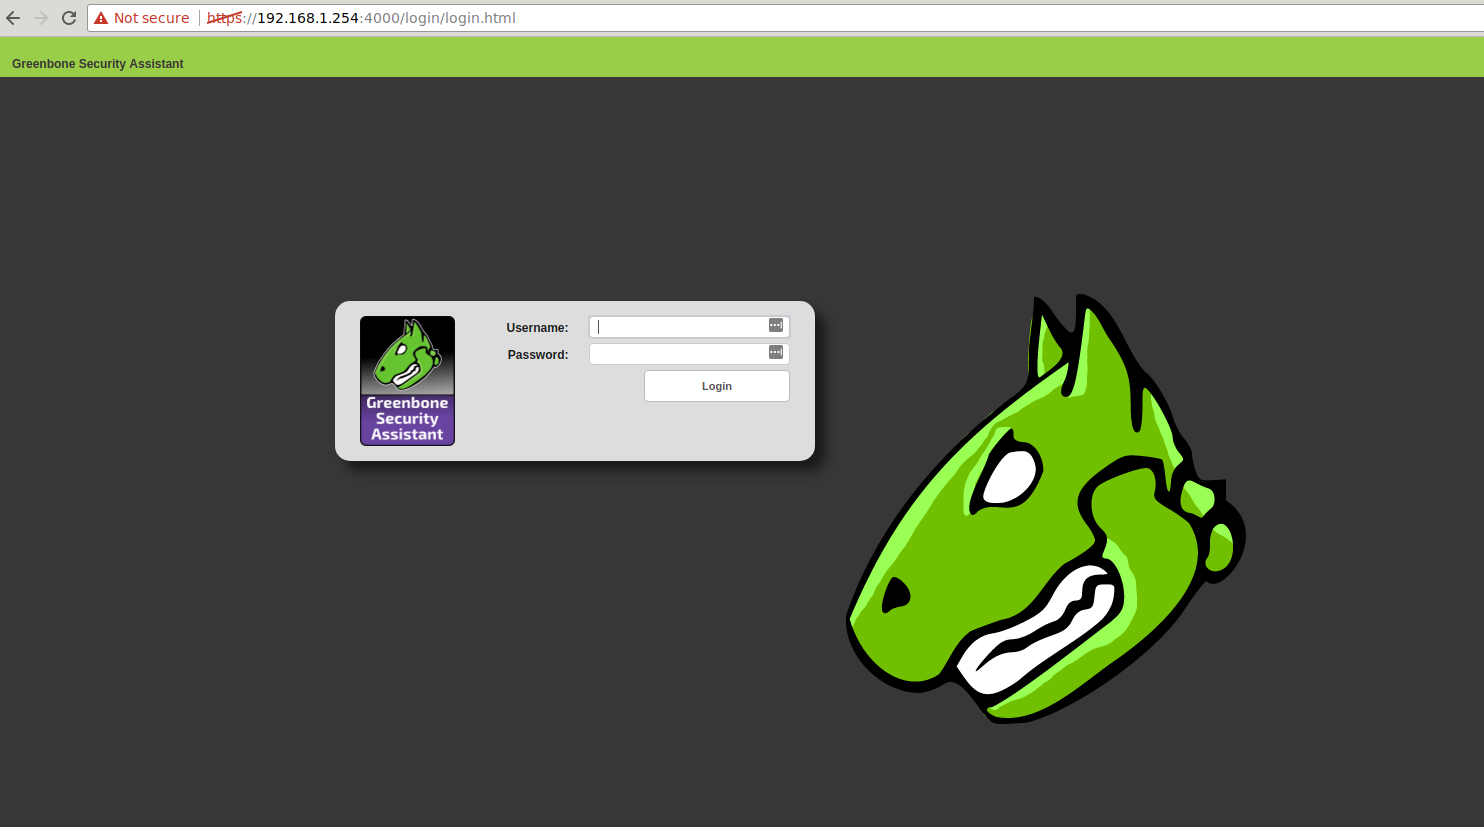
We are ready to load up the web interface and start testing. Don't forget we are on a new port number. The default user and password is admin / admin.
https://192.168.1.254:4000
Getting Started with OpenVAS 9
After completing the installation and syncing the vulnerability feed login to the web interface using the default credentials (don't forget to change your password!).
1. Add a target
Using the web interface, select Configuration | Targets to add a new target to scan. Note the little star icon in the top left corner is the "add" button (this follows through on the other screens as well.)
2. Add a task
Select Scans | Tasks option to add a new task. For your first scan you can stick with the defaults. Simply select the scan target that you added in step 1 and hit create.
3. Start Scan
Now its only a matter of hitting the play button for the task to kick the scan off. Once the scan has completed you will be able to review results under Scans | Reports. Reports can be downloaded in HTML / XML / PDF and other formats or you can review the results in the web interface.
Sample OpenVAS Reports
Each of the following tests were conducted using a black box approach. In such a test, the vulnerability scanner ran against a target with no prior knowledge or credentialed access to the system.
Windows 2003
End of life and an impressive list of vulnerabilities in a default install. Probably should upgrade.
Download
Windows 7
In this test the firewall has been disabled. Multiple issues discovered including MS17-010.
Download
Metasploitable
This target is a deliberately insecure system. It is used for testing and has many critical vulnerabilities.
Download
Wrapping Up
The installation of OpenVAS 9 on Ubuntu was a smooth process, with no hiccups or gotchas encountered.
The OpenVAS project is heavily supported and developed by Greenbone Networks. If you are after a comprehensive vulnerability scanning solution check them out. Complement their appliances for testing your Internal corporate networks with our hosted vulnerability scanners to secure the network perimeter.